
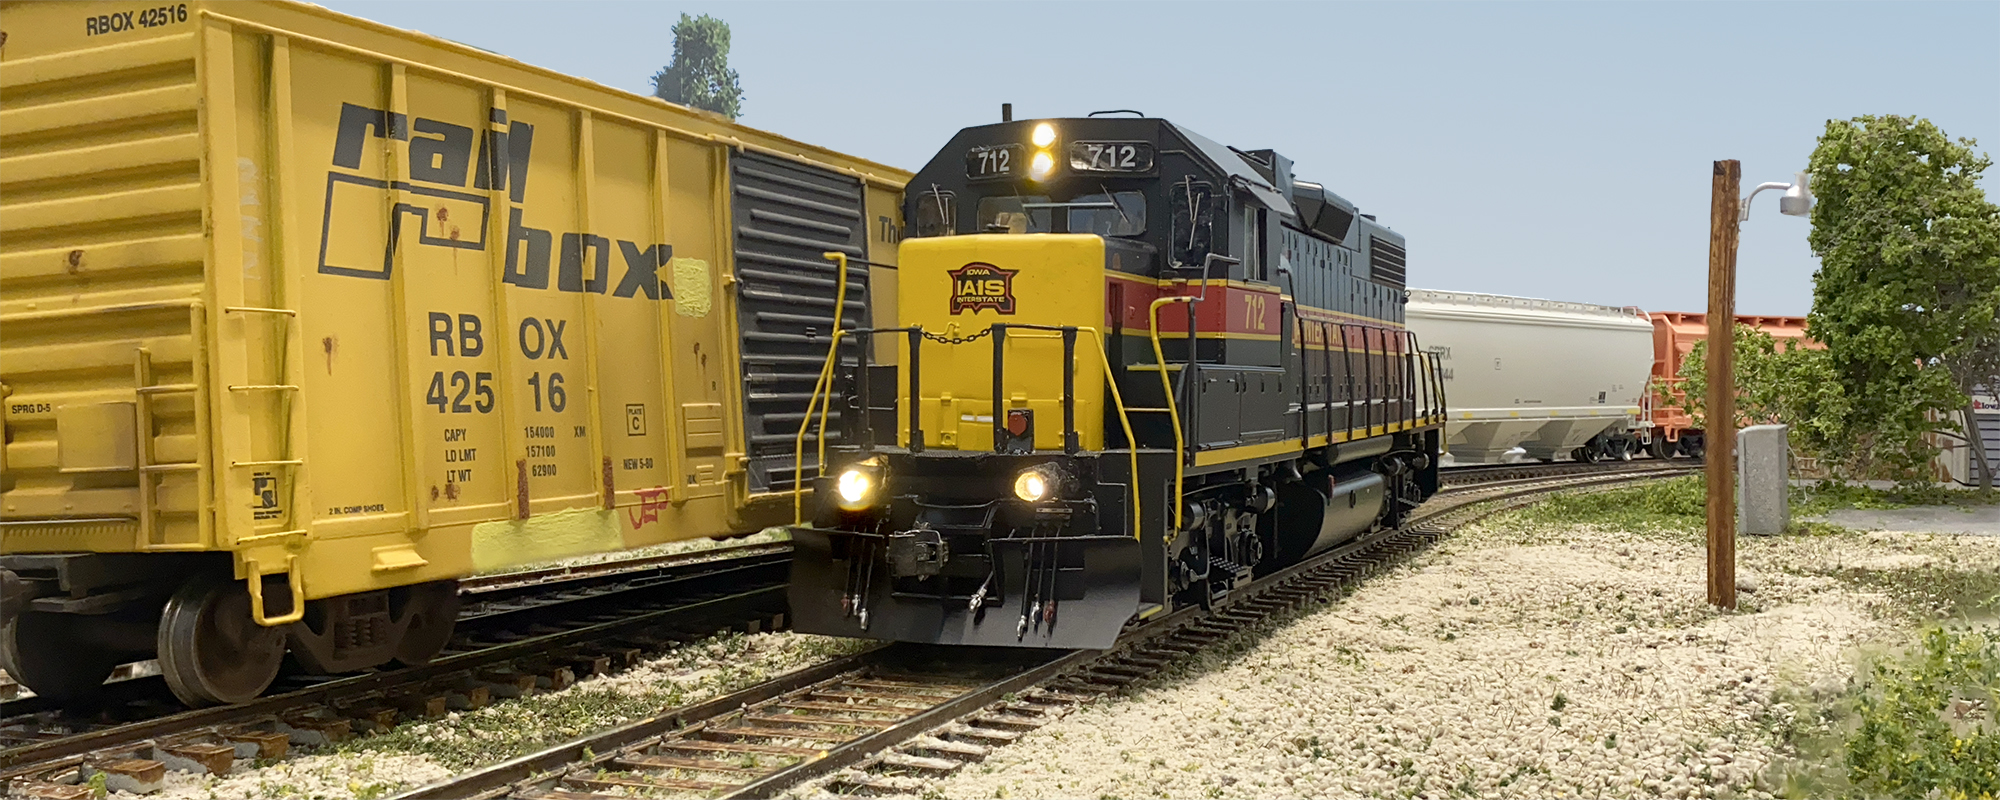

All model railroads involve tradeoffs. The supposed logic for smaller setups is that we trade size for detail. So while I’m running five cars trains instead of 50 car lineups, I can take the time to detail the scene to the Nth degree.
But as I’ve mentioned numerous times before, I’m lazy. For me the biggest tradeoff involves focusing on the things that will readily and consistently be seen. The backs of buildings or the undersides of cars? Pass. Track? That’ll I spend time on.
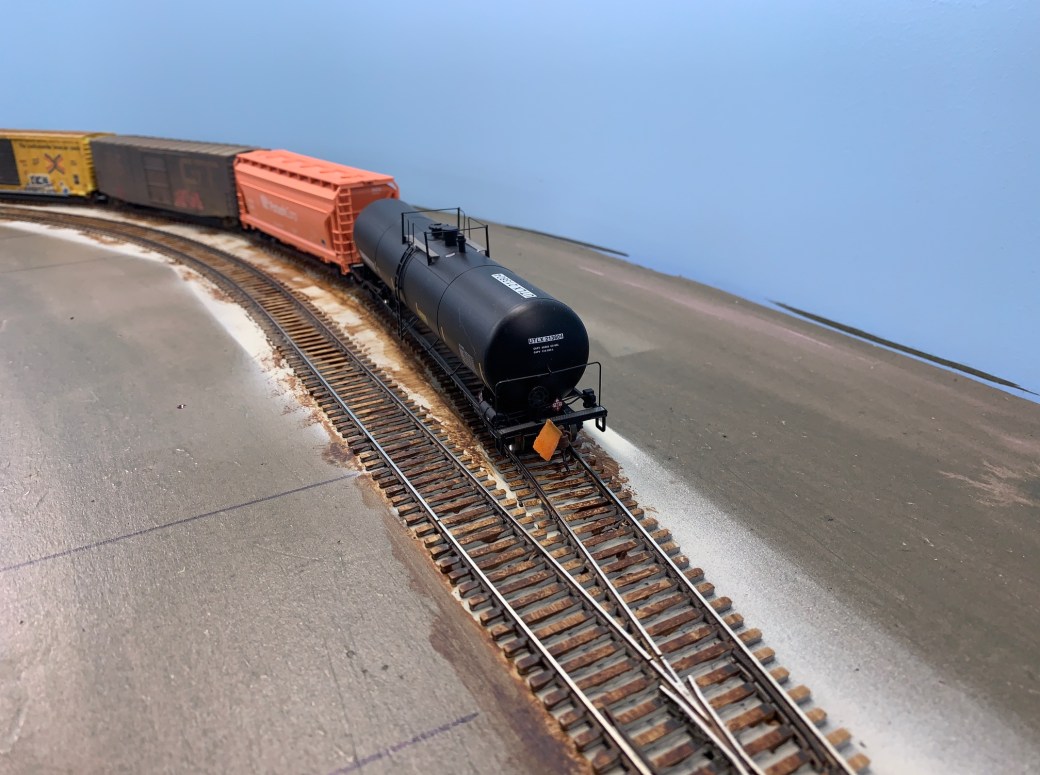
My process for painting and weathering track is somewhat involved, and would not be ideal for larger layouts. But The Hills Line is just the right size to make this method worthwhile.
Step One: The Gray Base
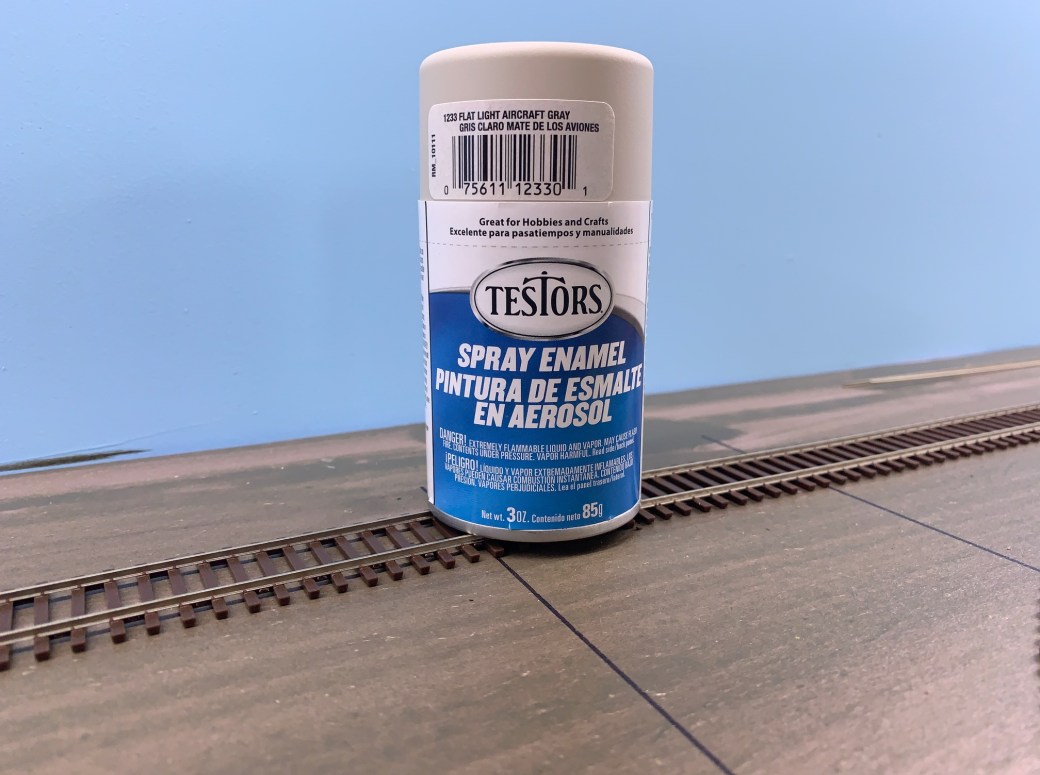
Paint the entire track with Testors Flat Light Aircraft Gray enamel spray paint. Since I’m using spray paint instead of an airbrush, I cover up the fascia and backdrop to prevent overspray. The small cans don’t have a wide pattern, but this is a place where an ounce of prevention is worth a pound of cure.

Let the paint dry and cure for 24 hours, then remove the paint from the railtops with an abrasive track cleaner.

Step Two: Bring Out The Grain
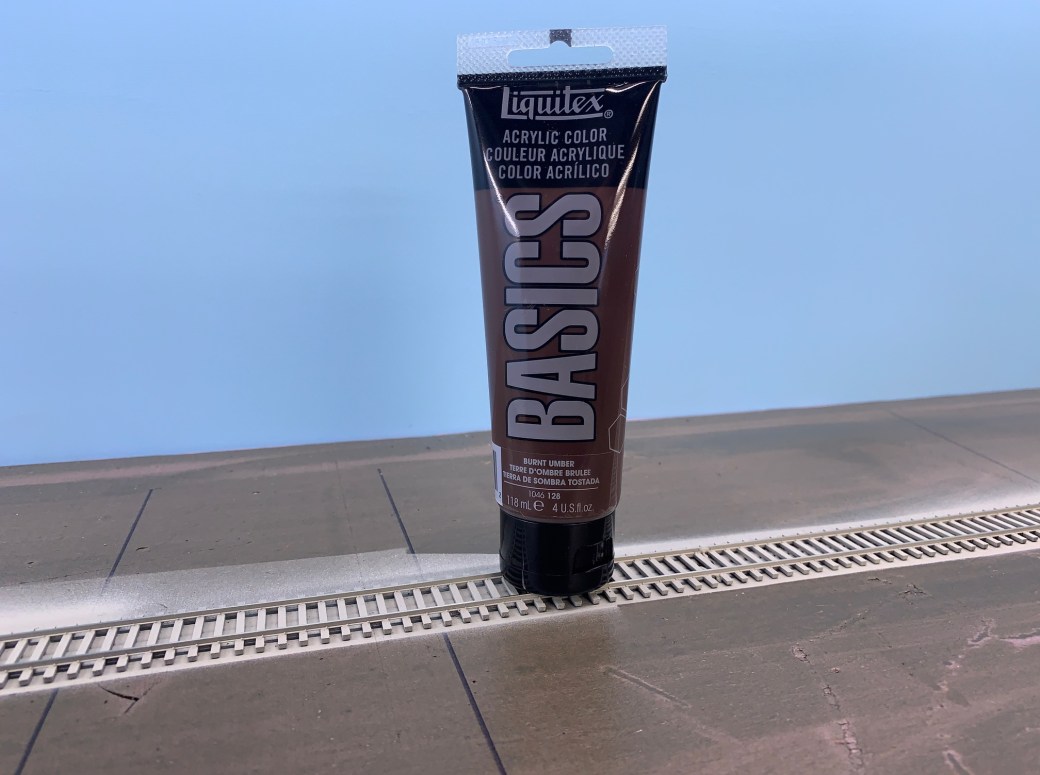
Cover the ties with a wash of Burnt Umber paint. Since the spray paint is enamel, the wash needs to be acrylic or the gray base will be eroded away by the mineral spirits. Acrylic artist’s colors tend to be much cheaper than oil colors.
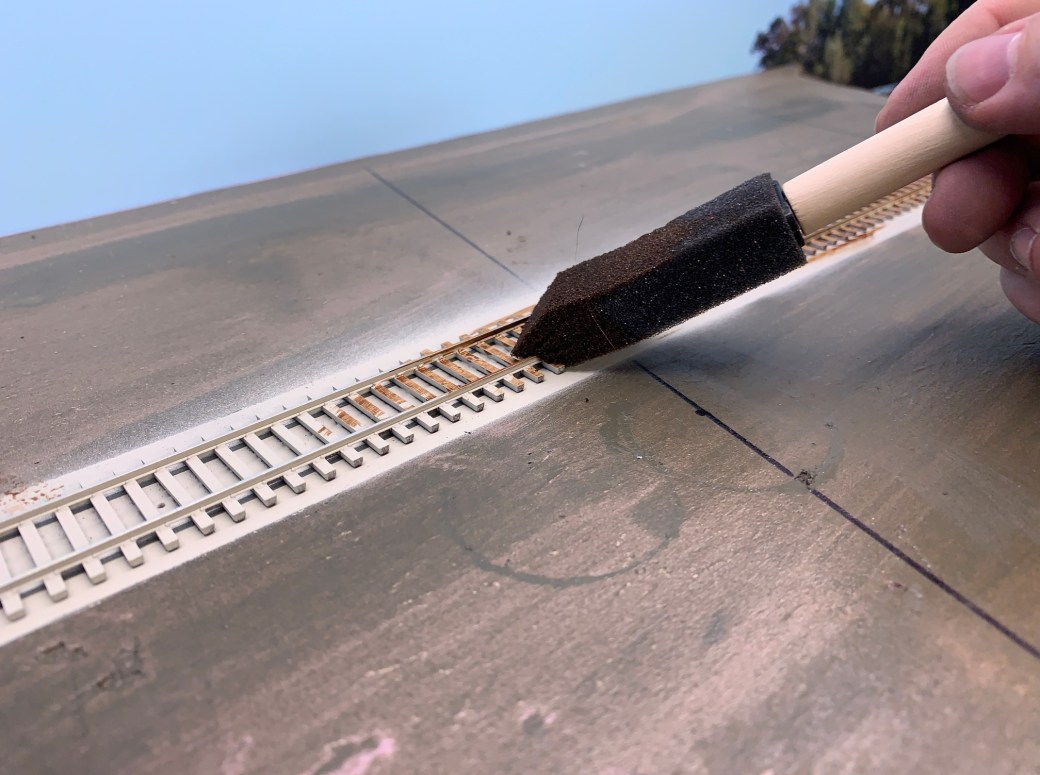
Using a foam brush, dab and slosh the wash over everything. Remember, you’re not painting a masterpiece. The goal is to cover every square inch of track quickly and efficiently. The inconsistent application is a benefit to creating variety in the tie coloration.
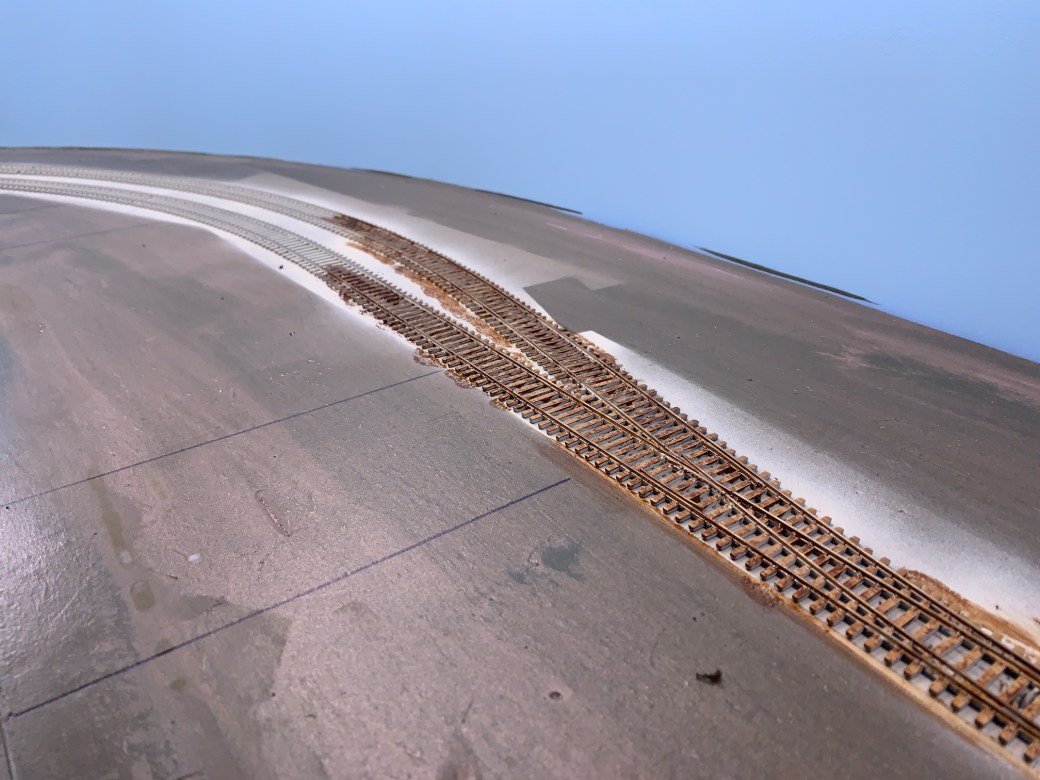
Let dry for 24 hours again, and if necessary feel free to go back and add a second coat in spots to touch up the ties. But remember, you want the gray to leak through the brown to simulate the texture of real wood. Once done, clean the railtops again with an abrasive cleaner.
Step Three: Rusty Railsides
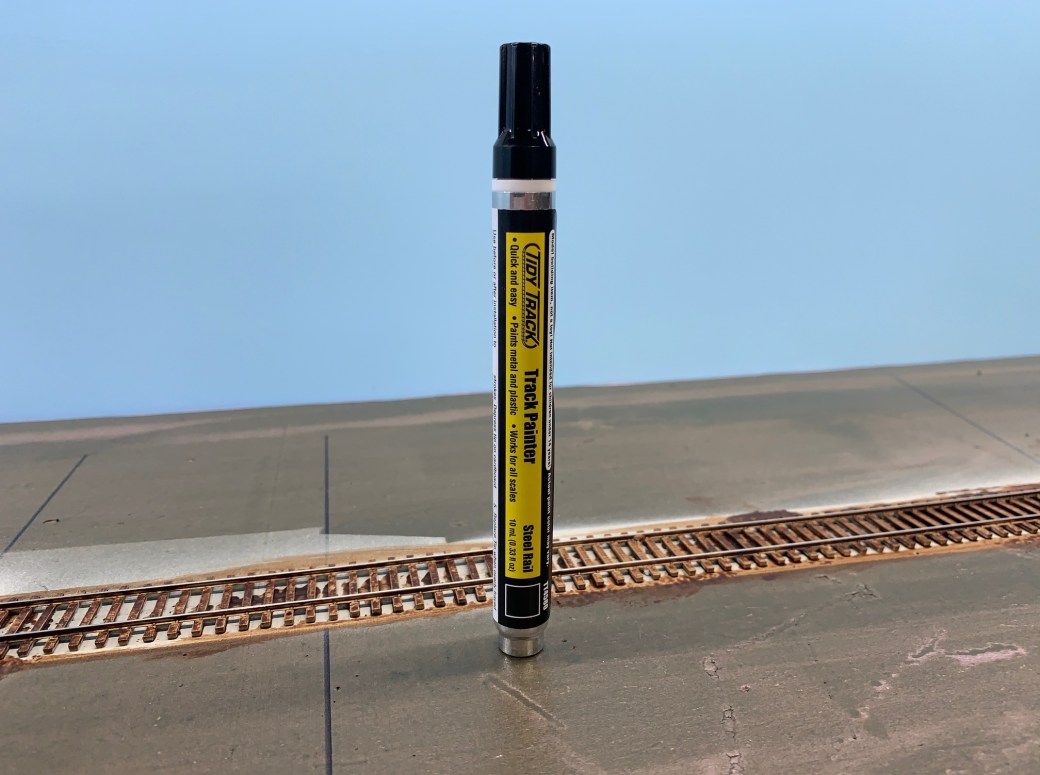
Run a Rail Brown colored paint pen along the visible sides of the rails. On the IAIS Grimes Line I used Floquil Paint Pens for a quick and simple application. Since that’s not longer an option, I turned to Woodland Scenics Track Painter pens.
Whatever brand you use, do not use a rust color. In photographs and to the eye it comes across as orange and toylike. Instead go with a dark grayish brown for maximum realism.

The tip of the pen is run along the visible web of the rail, allowing some of the paint to land on the tie. This helps simulate the presence of tie plates.
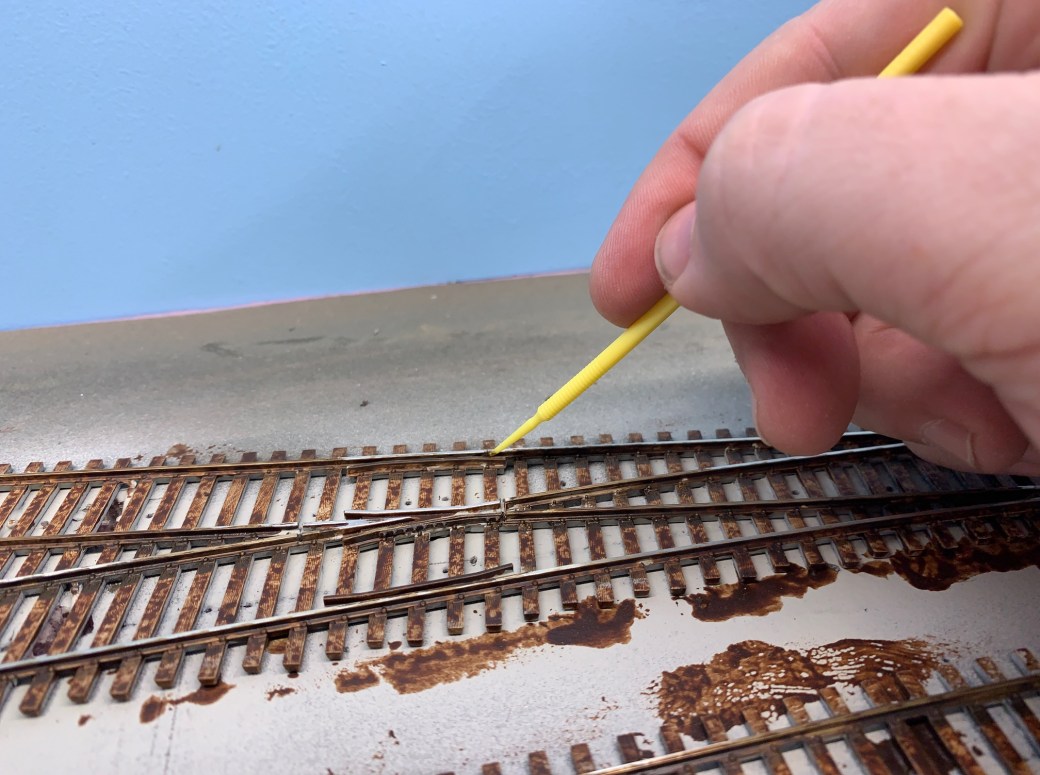
For areas where the pen will not fit, such as between the guard rail and stock rail of a turnout, I load up a microbrush with paint from the pen and slide it along the rail.
Clean the railtops one last time, check your points for unhindered movement, and your track is ready for primetime.

Hey James, with these ME DCC Friendly turnouts, there is NOT really a need to cover anything before weathering/painting them is there, since they are not power routing? Most literature I have/see says to cover the points etc, but that is for the power routing variety I think?
LikeLike
It’s not a power-routing issue. It’s passing power to the points. A lot of DCC friendly turnouts use rail-to-rail contact to pass power to the points and closure rails. You want to be careful that any paint/weathering doesn’t cause that connection to weaken. Hence why I run individual feeders to the points themselves.
LikeLike
Hi James, is the wash a mix of acrylic burnt umber with mineral spirts?
LikeLike
I used acrylic paint so the wash was made with water
LikeLike