


For the past ten months, I’ve written about The Hills Line at my blog on the Model Railroad Hobbyist website. Rather than completely rehash what I’ve already posted, I want to bring this site up to speed with where the layout stands today in a three-part series highlighting the progress made so far.
Part One detailed the construction of the benchwork using Ikea’s Ivar shelving units.

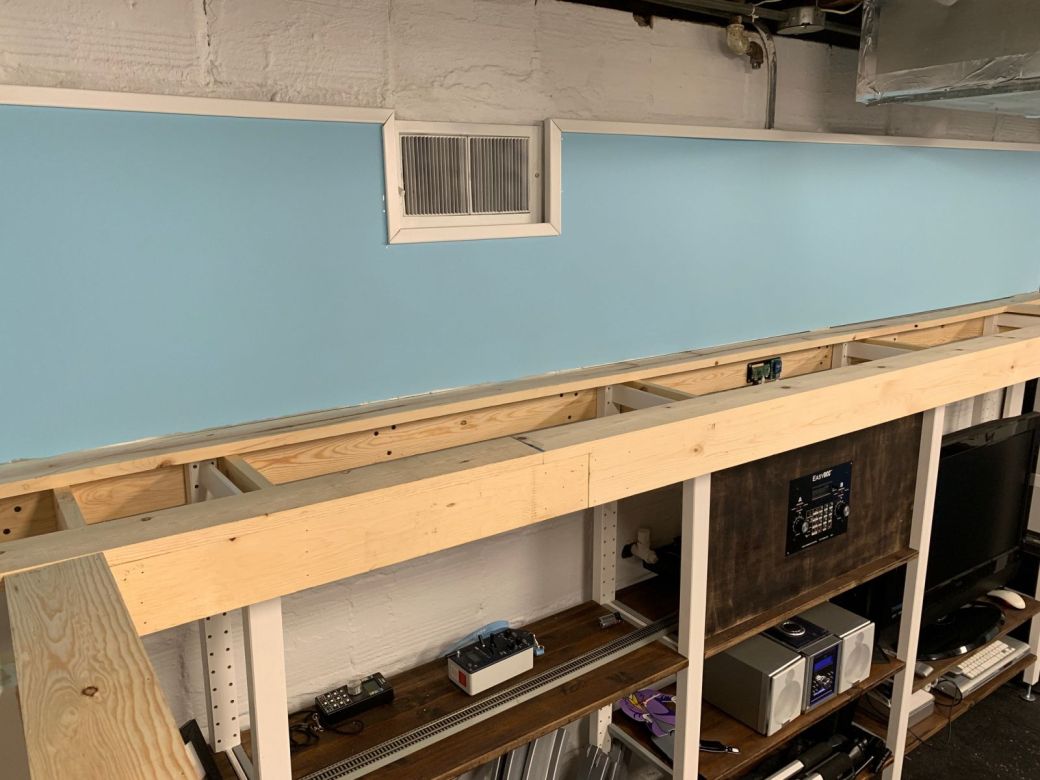
With the benchwork in place, I turned to constructing the backdrop. Rolled aluminum flashing was used to create a seamless and continuous surface. Installation was straightforward, but I did have to go slowly and deliberately to avoid creasing the material.
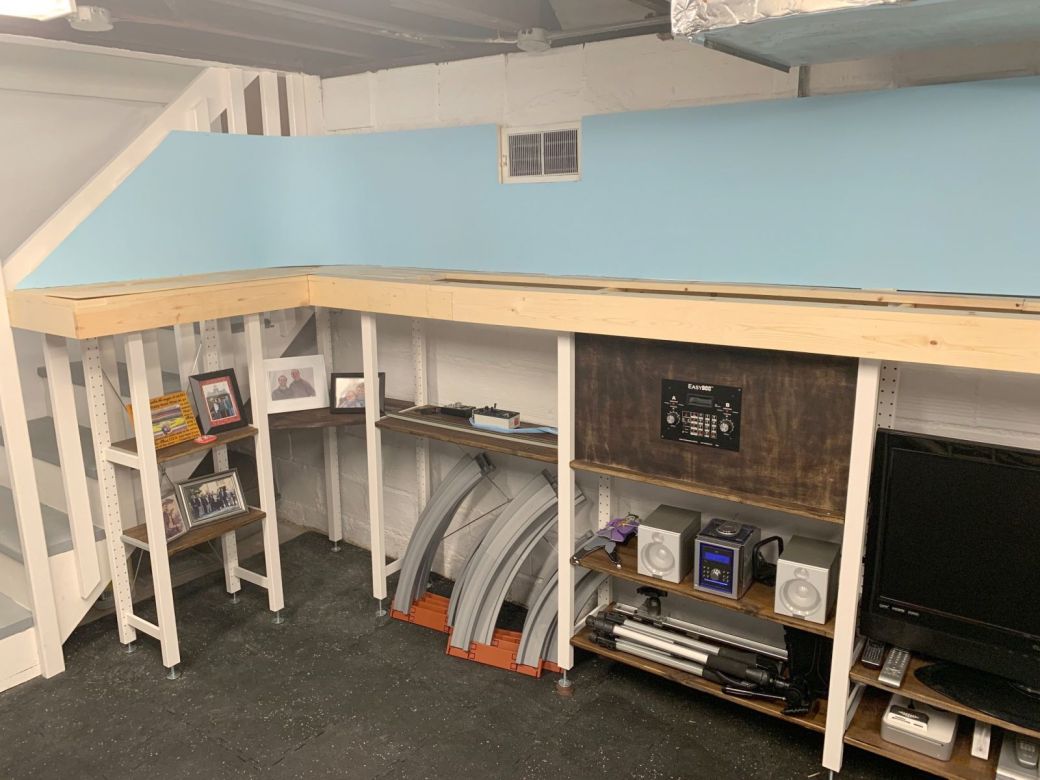
To create the blue skies, I chose Behr’s Nevada Sky for the backdrop color. Rather than try to simulate the naturally-occurring gradient found in our atmosphere, the entire backdrop was painted the same flat color. This provides a consistent hue for photography and makes it easier to mask out the background for later editing purposes.
By far the biggest design difference from the IAIS Grimes Line is the lack of a valance on The Hills Line. While I remain a fan of the shadowbox look that valances provide, the low ceilings in our basement take the effect to the extreme. The result was a dark cave that did nothing to welcome people into the space.

For The Hills Line I eliminated the valance and went with vinyl trim on the edges of the backdrop. Not only did the trim help define the layout in the room, it had the added benefit of covering up my less than precise cuts to the trim coil.
Be sure to return for Part Three when we wrap up this look back by turning foam board into midwest prairie and add electrons and electronics to the space.

Paint the vent and the 3-piece framing around it blue?
LikeLike
I thought about that as a way to extend the backdrop but it’s not really needed. There’s enough space to place the planned structures underneath then vent without feeling cramped, and the white trim creates a great border to define the layout in the space.
LikeLike