

Roads and grade crossings on a model railroad are two things that every visitor to our layouts can quickly identify and relate with. That comes from the simple fact that we interact with roads on a regular and ongoing basis.
On The Hills Line I’ve begun construction of US Highway 6, a major arterial road in Iowa City. Since it’s the largest and widest road on the layout, and will be one of two crossings with flashers in place, it’s my belief that a fair amount of eyes will be on this scene. So it behooves me to make sure that this road appears right.
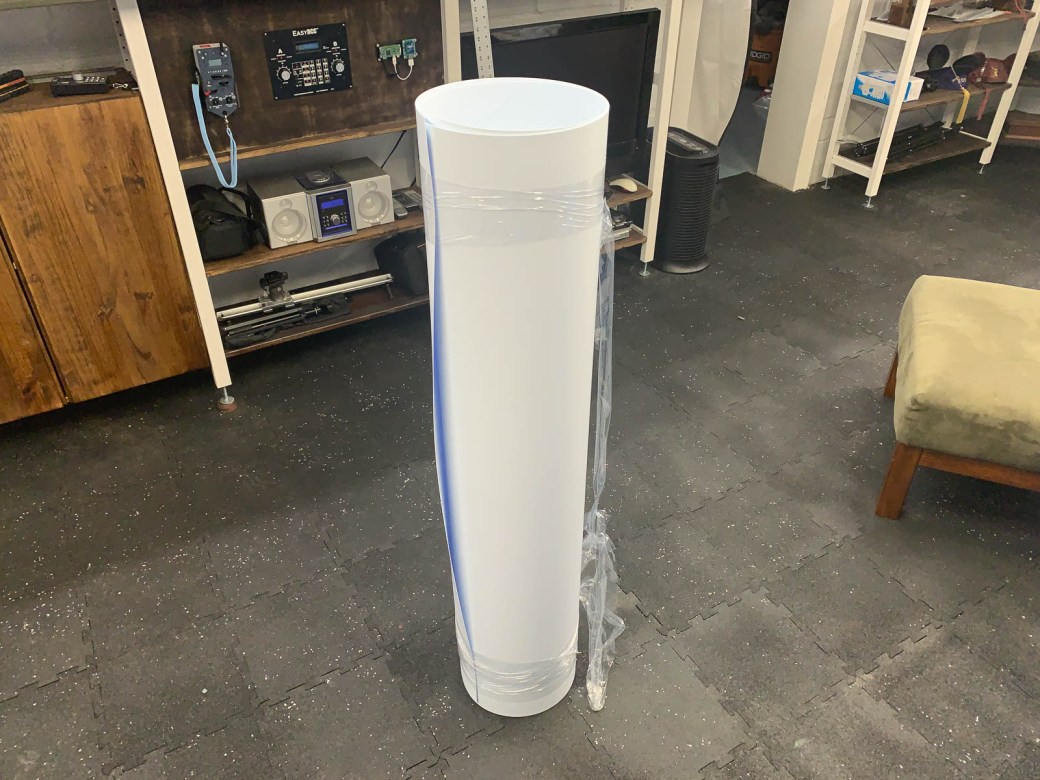
For all my roads I use .040 styrene sheet as the base. I was able to pick up a 4×8 sheet from Regal Plastics here in Des Moines, for much less than it would have cost me to buy comparable amounts from a hobby shop. The IAIS Grimes Line used a grand total of two sheets to complete all the roads and structures on the layout. I’m thinking I can get by with three sheets on The Hills Line.
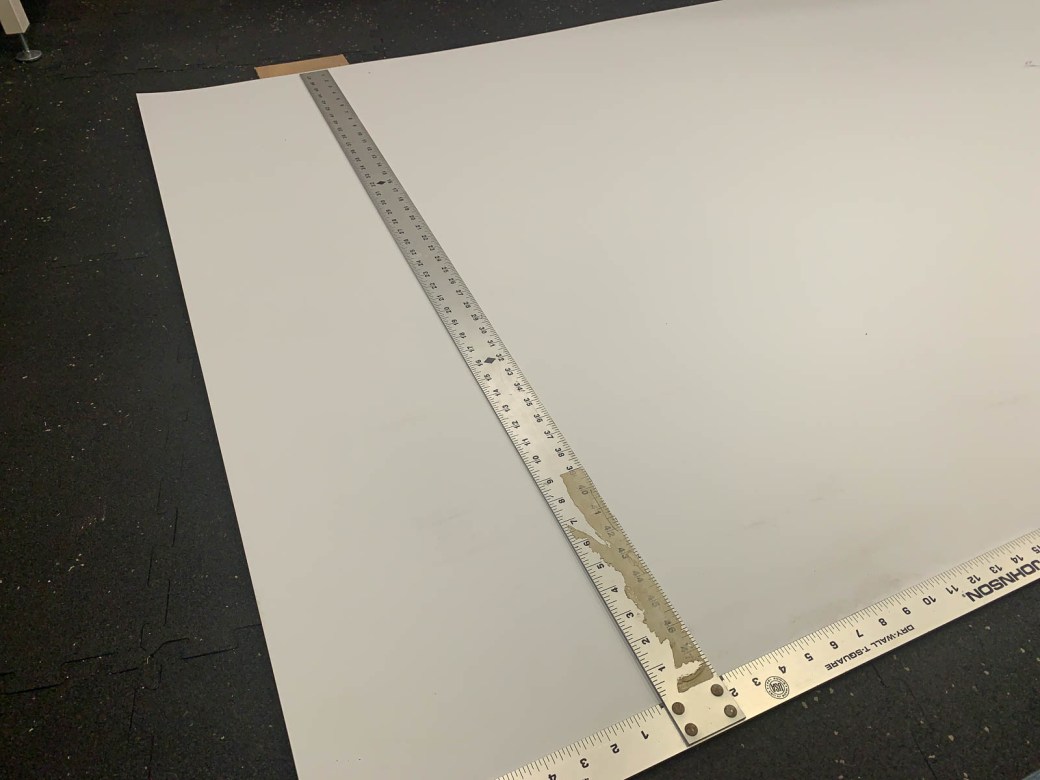
An advantage to a layout design with the middle of the room open is that I have plenty of space to work on large stock when needed. The styrene sheet was rolled out on the floor and scribed and snapped to the correct width for Highway 6.

Once in more manageable sections I moved to my workbench to further cut the styrene to fit. I like .040 thickness since it’s study enough to avoid warping but flexible enough to easily be cut with scissors or a utility knife.

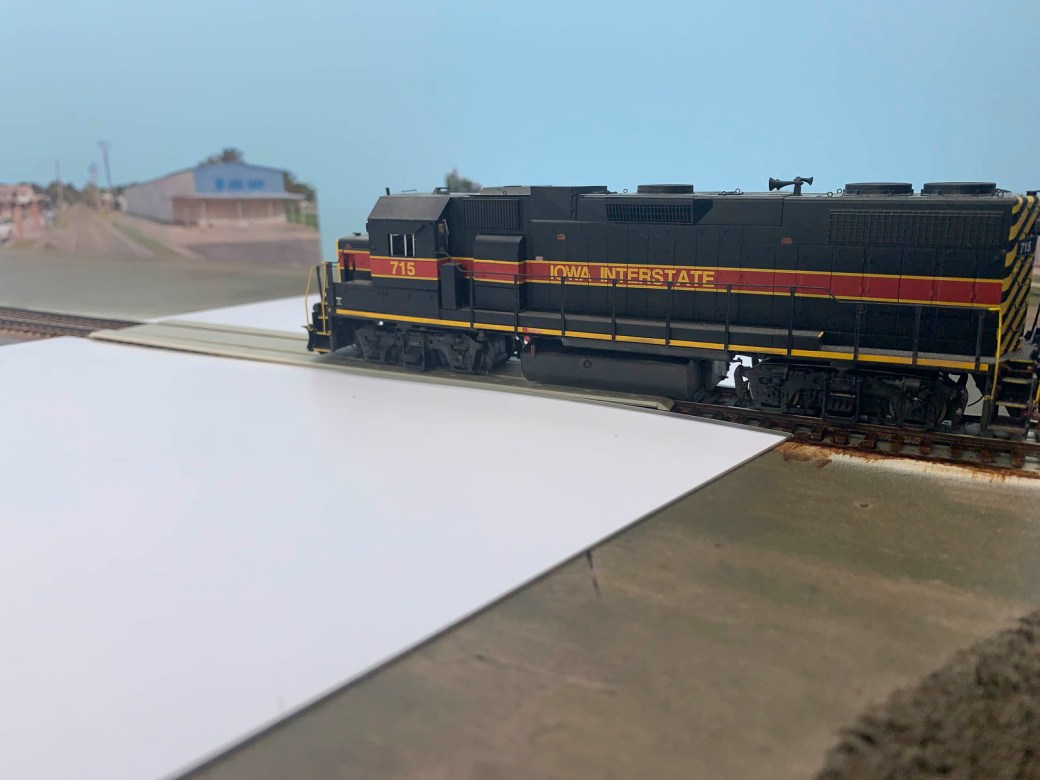
I measure both the distance and angle between the backdrop and grade crossing, as well as the grade crossing to fascia, and rough in the road. A few quick passes with medium grit sandpaper cleans up any rough edges.
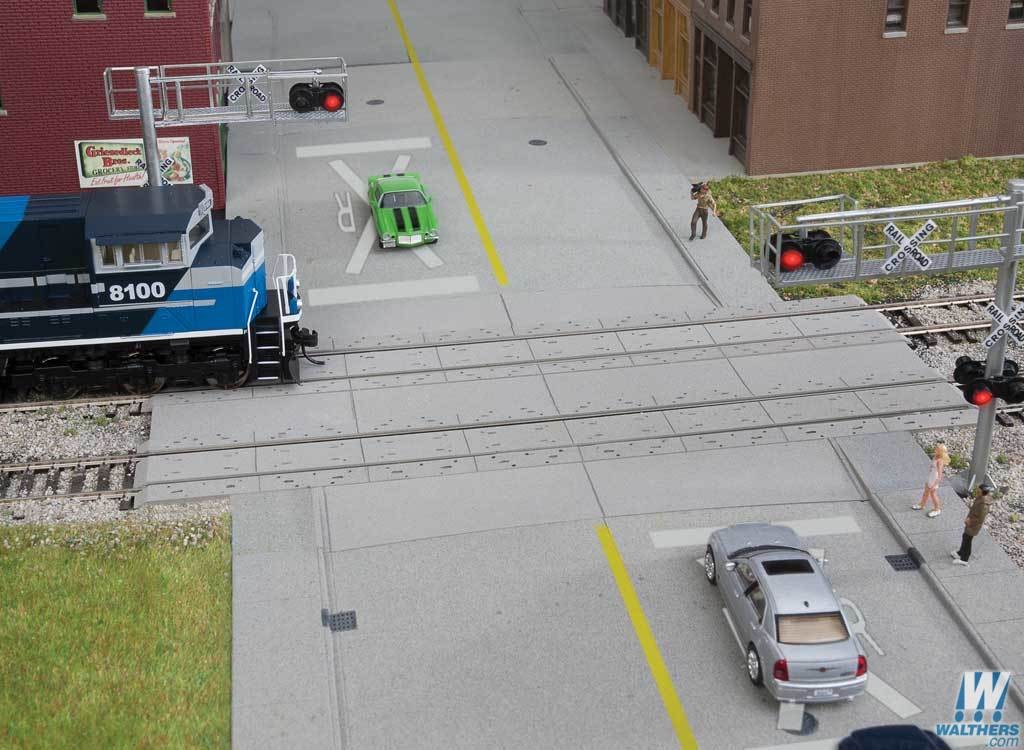
A quick note about grade crossings. On the IAIS Grimes Line I used BLMA’s concrete and rubber grade crossings as appropriate to the prototype. For The Hills Line I’m trying Walthers’ Concrete Grade Crossing Kit. To my eye they have the same level of detail as the BLMA versions but at a lower overall cost.
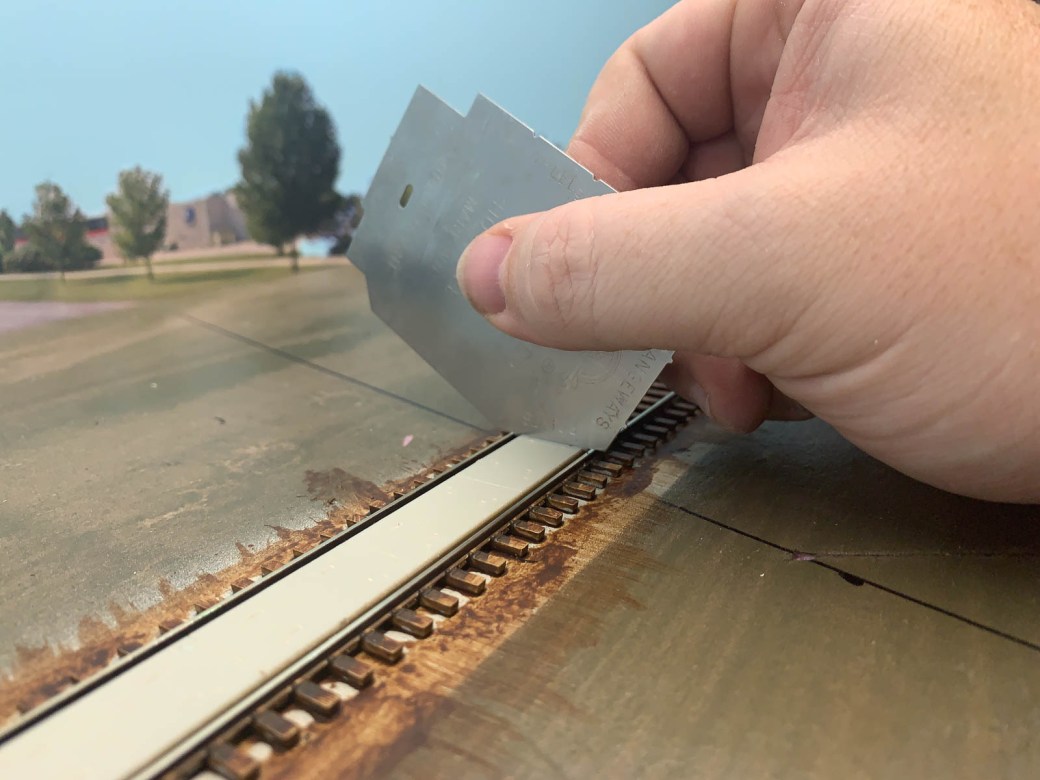
When placing the center piece, check your clearances to ensure that you don’t cause derailment issues for your trains. I use the points side of the NMRA track gauge to make sure the piece won’t interfere with a car’s trucks or wheels. With the road and grade pieces in place, run several trains and cars back and forth to ensure a trouble-free crossing.
Next time I’ll add curbs and medians and assemble the individual segments into a complete thoroughfare.

3 thoughts on “Curb Appeal, Part One”