


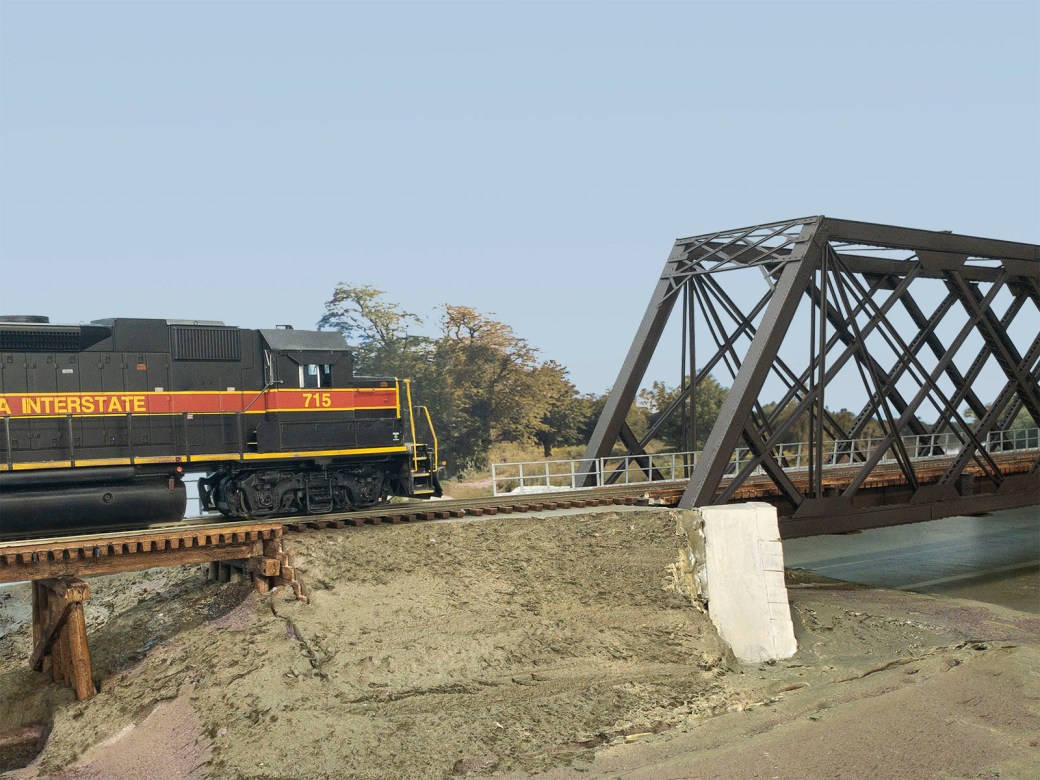
I’ve used the phrase Endless Horizons several times to describe my philosophy and methods in using photo backdrops on model railroads. The goal is to take a 16-inch deep piece of foam board and make it seem as if it stretches for miles and miles.
Doubly important than making a model railroad seem bigger than it actually is, effective backdrops help place our layouts in the modeled era and locale. There’s no better way to establish that I’m modeling The Hills Line than to use photos from the prototype Hills Line.
Thanks to modern geomapping technology, anyone can make effective, realistic photo-quality backdrops without having to physically travel. Yes, you are limited by what is available on Google Streetview or Bing Streetside, but I’ve been amazed at what I can find and make use of for The Hills Line.
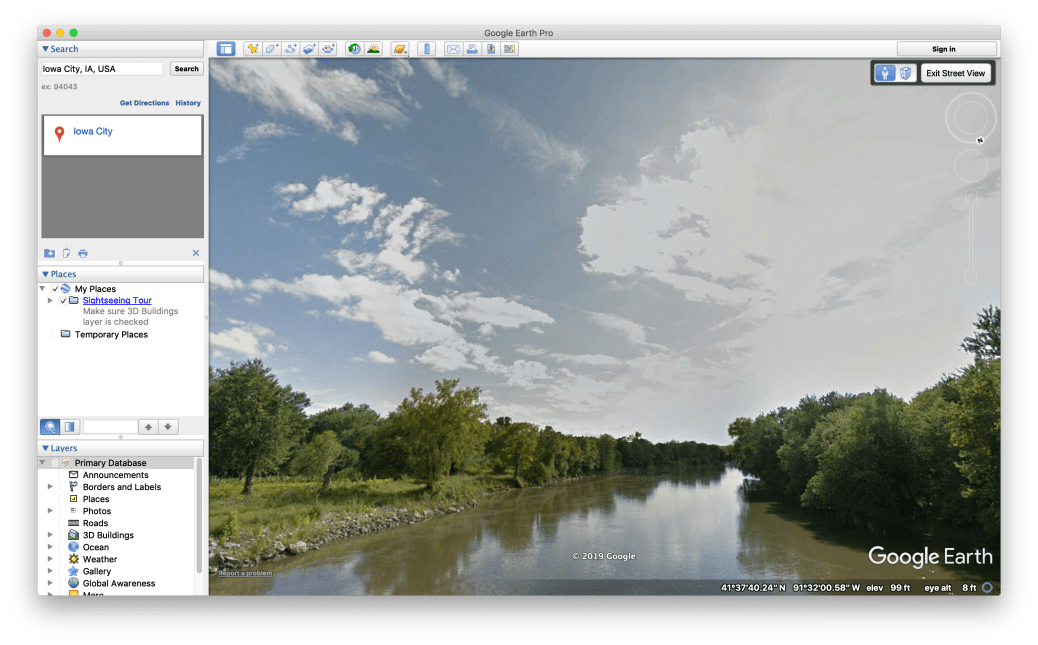
For the Crandic Iowa River scene, I wasn’t able to get shots from the exact location of the CIC Bridge crossing, since Google doesn’t do street mapping from railroads*. However, a quick trip downriver to the next bridge gave me a similar angle that I would have had on the rail bridge. It even included the Iowa River Corridor trail path in the proper location relative to the bridge.
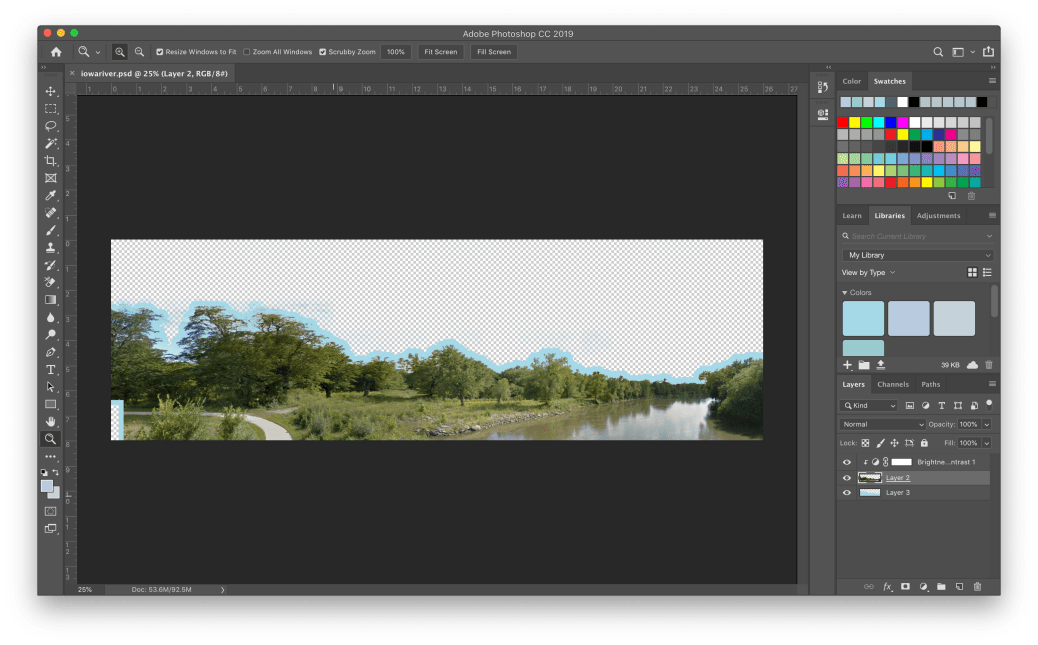
My professional life has given me both the knowledge and access in using Photoshop. A few moments in the application and I was able to create a panorama from several streetview angles. The skies were digitally removed and replaced with a band of blue matching the hue I use for my backdrops.
The overall panorama is spliced into segments eight inches high by ten inches wide. I use regular letter-sized copy paper to print out the individual slices.
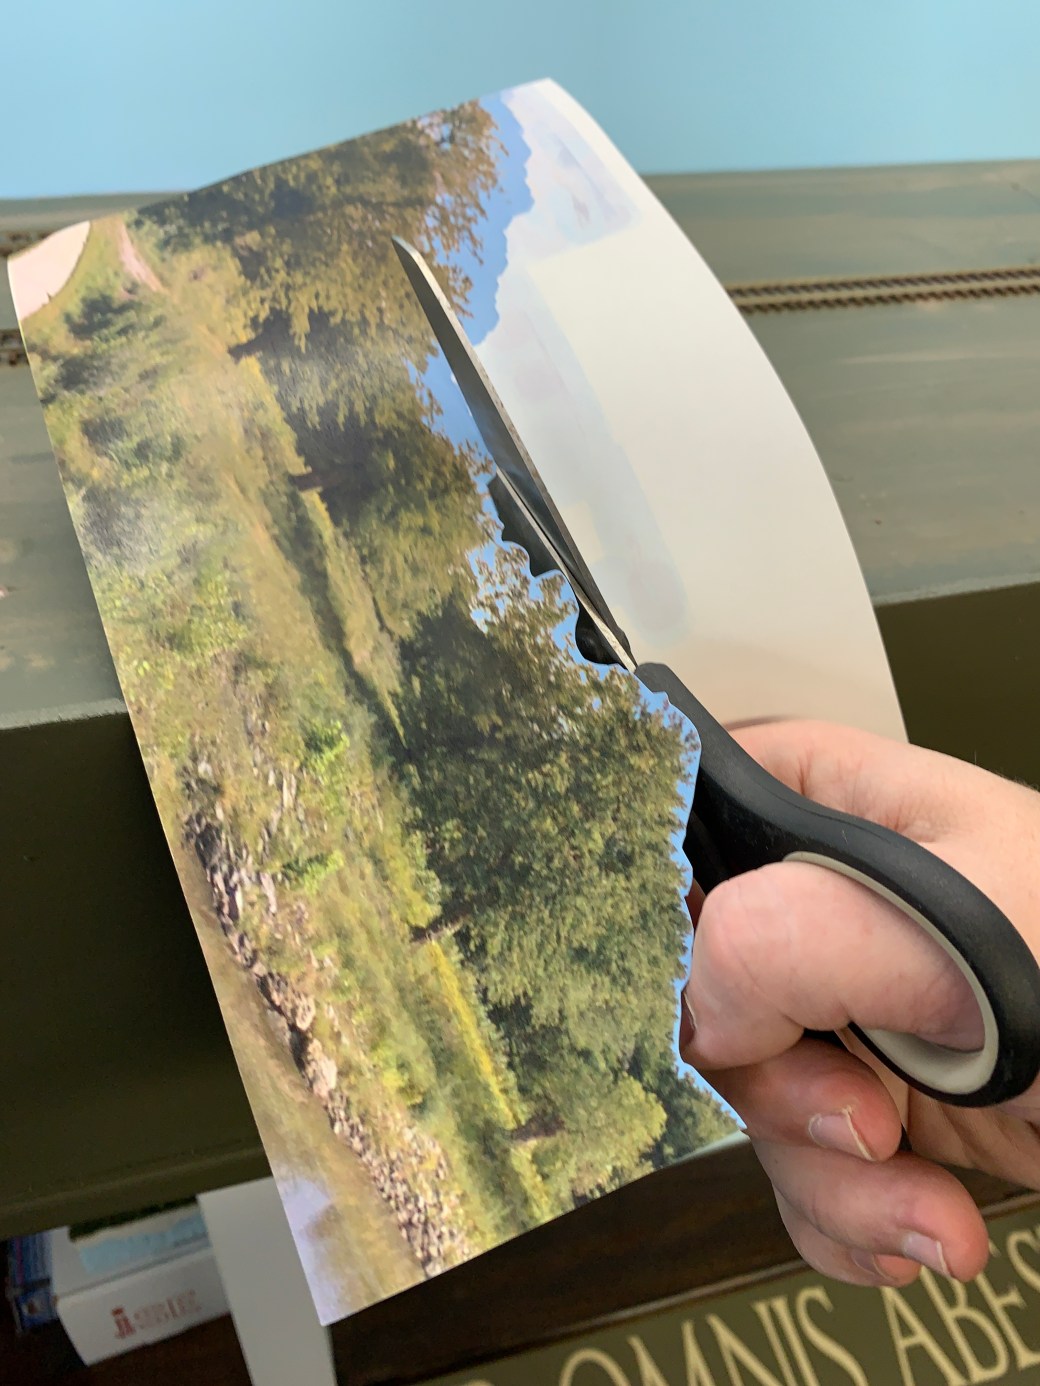
To help maintain the detail, I keep the edges of any trees intact on the photo and don’t try to cut the individual branches or leaves. The rounded edges of the paper cuts blend into the backdrop and bring much less attention to itself than jagged lines from trying to cut out a tree would bring.
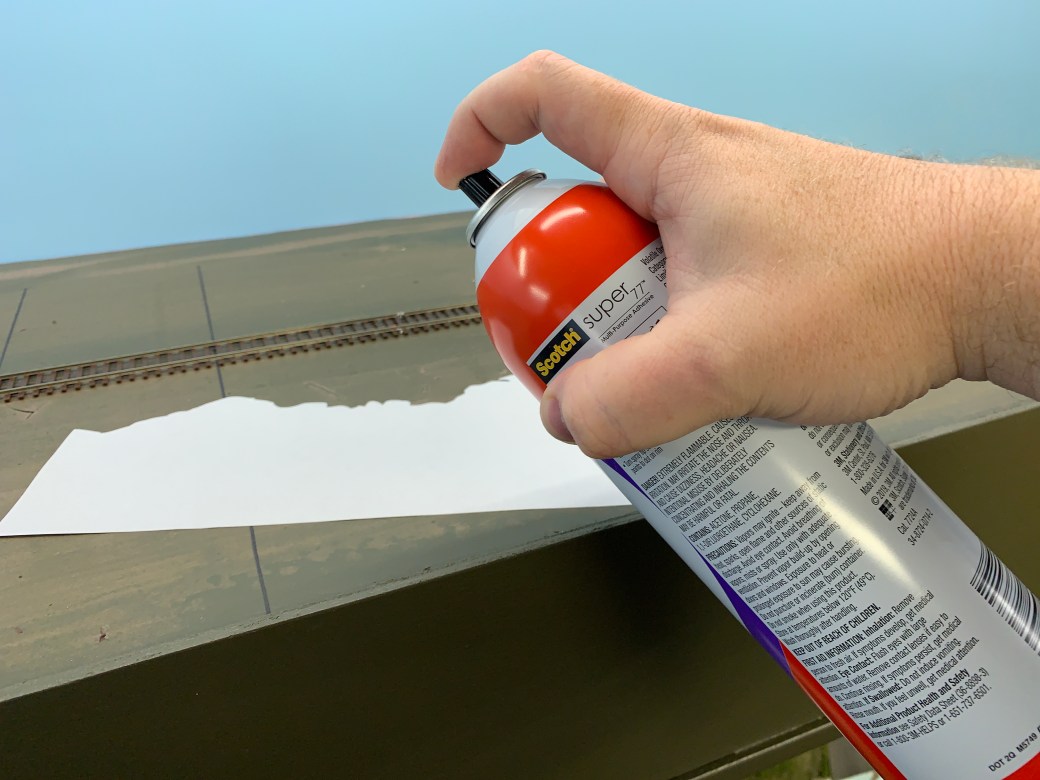
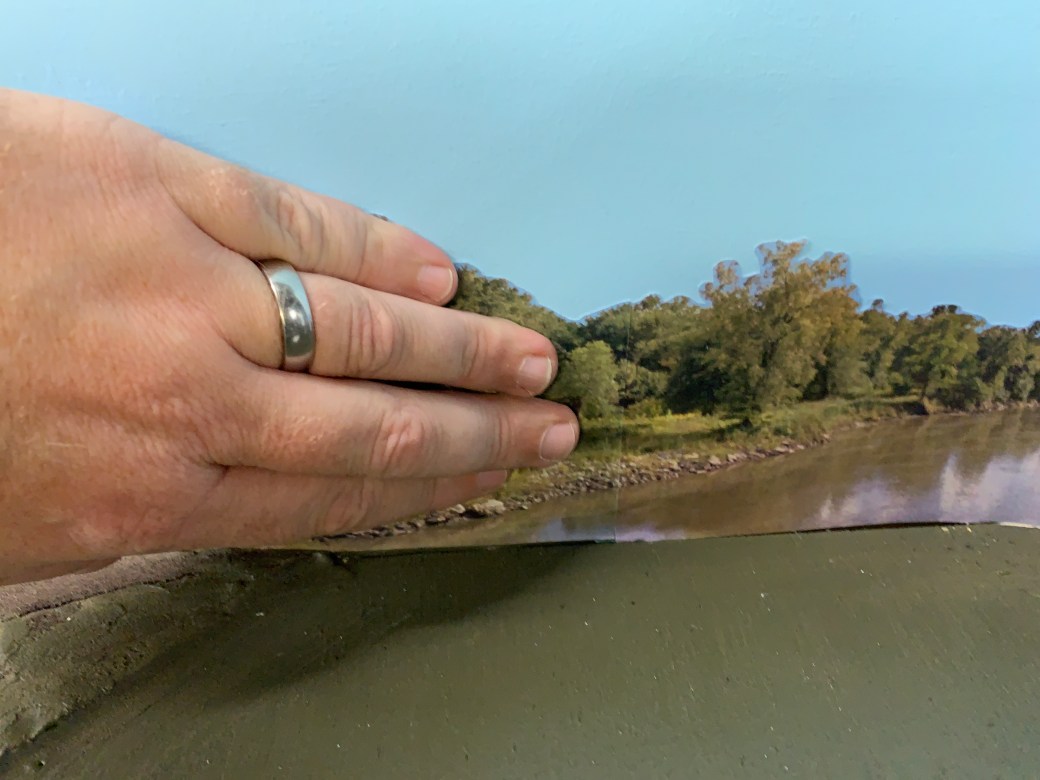
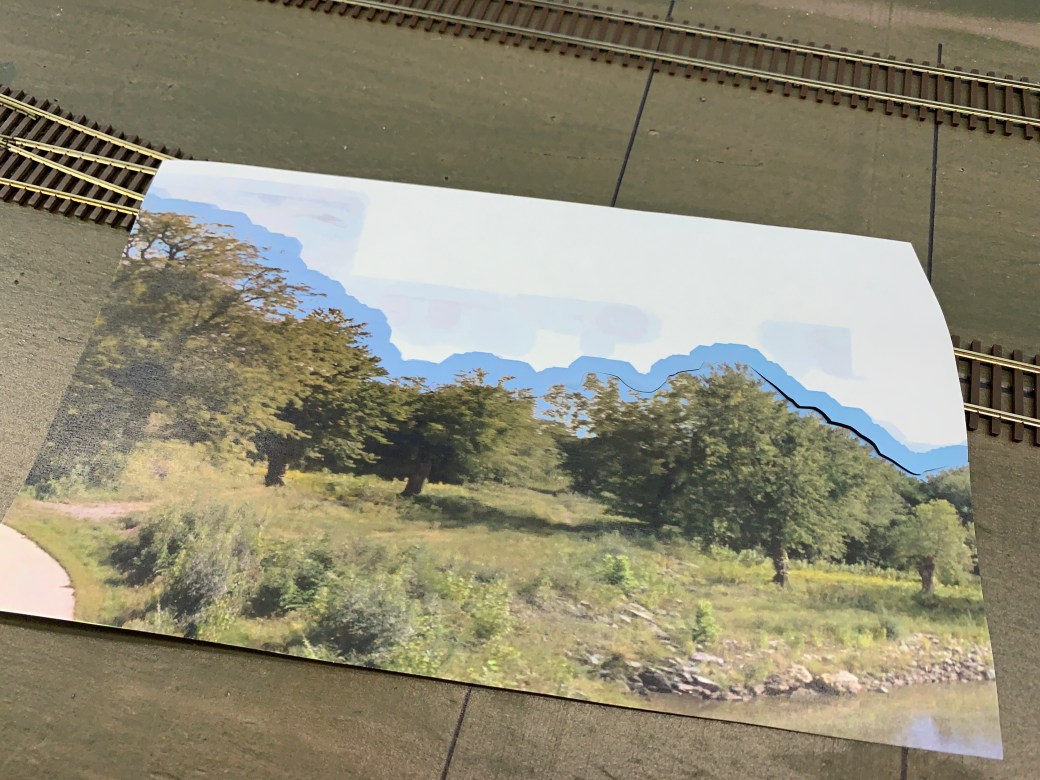
Super 77 Adhesive Spray is coated on the back of each slice before being placed onto the backdrop. Take your time and ensure that each slice is level and properly aligned with the preceeding image.
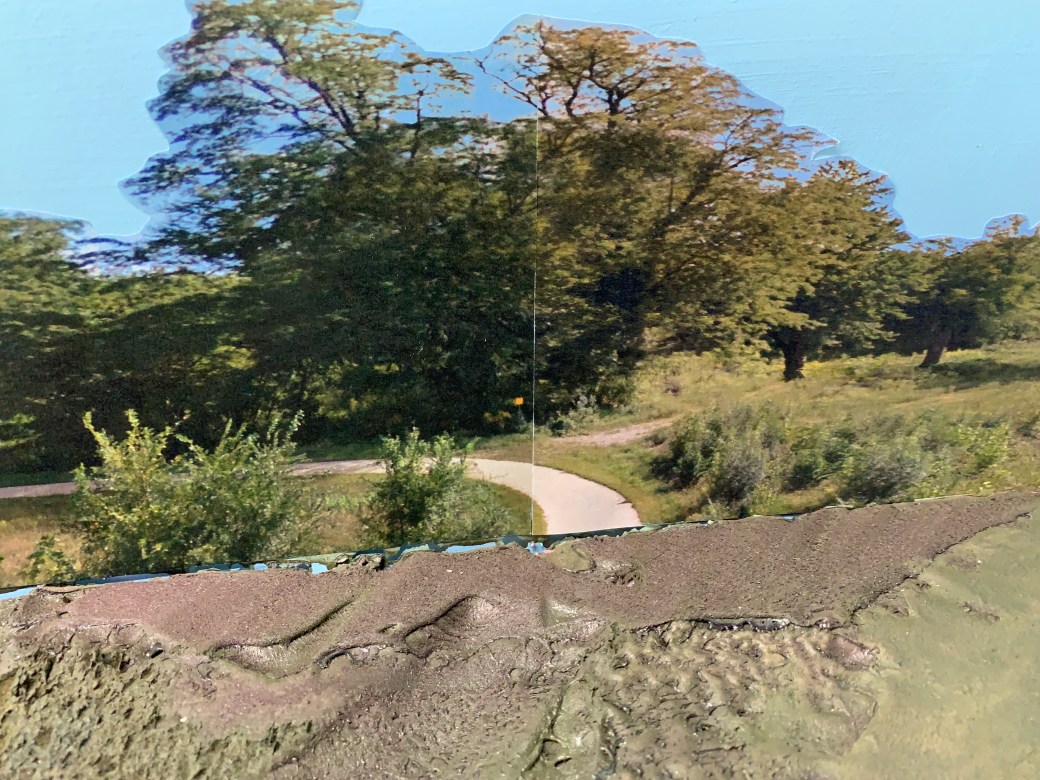
Seams happen, unfortunately. They can be minimized by making cuts in the paper with a razor blade or Xacto knife instead of scissors, or masked after installation with scenic material or paint. But remember, this is the backdrop. I’ve found that most seams disappear or are ignored once the foreground elements are in place.
*= for the record, a Google Railview would be amazing

Great tip on the blue behind the foliage to match the backdrop color. Definitely will be saving this idea.
LikeLiked by 1 person
James, after following your blog I got motivated to finish my benchwork and add a fascia and I just painted my layout with the same colors you did. I have been struggling with the photo backdrop issue and hesitant to start trying. Your post has again inspired me-what color did you use in photoshop to match Behr “Nevada Sky”?
LikeLiked by 1 person
I matched a Nevada Sky paint chip in Photoshop and made a new swatch for the color. The hex value is A5D9E7. You may need to make some subtle adjustments depending on how your printer handles color settings.
LikeLike
I simply matched the RGB values from a paint swatch on the Home Depot website
LikeLike
I’ve made the decision myself to use photo backdrops for my layout, therefore enjoy reading about other’s efforts in this venture. The biggest challenge for me is to master the Photoshop Elements software to do things as you’re doing. Thanks for posting about this.
LikeLiked by 1 person