

Wrapping up construction on the Stutsman Ag Complex Elevator at the southern end of The Hills Line. Since this is part of the front door to the layout, I wanted to take some extra steps to add additional details that I haven’t used on other structures to date on the layout. After all, it’s the first thing people will see when entering our basement.

The obvious answer was the roof, since it’s both large and visible from multiple angles and perspectives. I chose to use scale three-tab shingles from GC Laser. It would be a considerable improvement from my usual photo paper or plastic roofs used elsewhere.

Since I wasn’t able to source enough of the material in the color I wanted, I purchased whatever I could get my hands on. Once at home, I spray painted the individual sheets with the same Rust-Oleum flat gray primer I had used on the base of the roof.

Then, one strip at a time, I placed each row on the roof. Each was overlapped and staggered to replicate real asphalt shingles. One set gives you approximately 84 square inches, and I’ll need every last piece to complete this project. This is both cathartic and psychotic.

It took a couple of rows for me to finalize on a method for applying the shingles, but I finally settled on using Aleene’s Tacky Glue dabbled on with a foam brush. I found even more success by adding the glue to the brush in small amounts, the lightly spreading it both on and above each strip. Keeping everything aligned was a challenge, and there were a few times I had to remove and reapply a strip after it had set.

Speaking of challenges, by far the most time consuming was applying the ridge caps, one at a time. Overall the shingles add a lot of detail and look to the structure, but I’m not sure I’d repeat this process again.

The roof atop the headhouse was considerably more straightforward. The seams were marked with a drafting pencil then lightly weathered. Since it’ll have the elevator itself atop the roof, plus the fact that it’s not normally visible, I didn’t spend the same amount of time on this small section that I did on the rest of the structure.
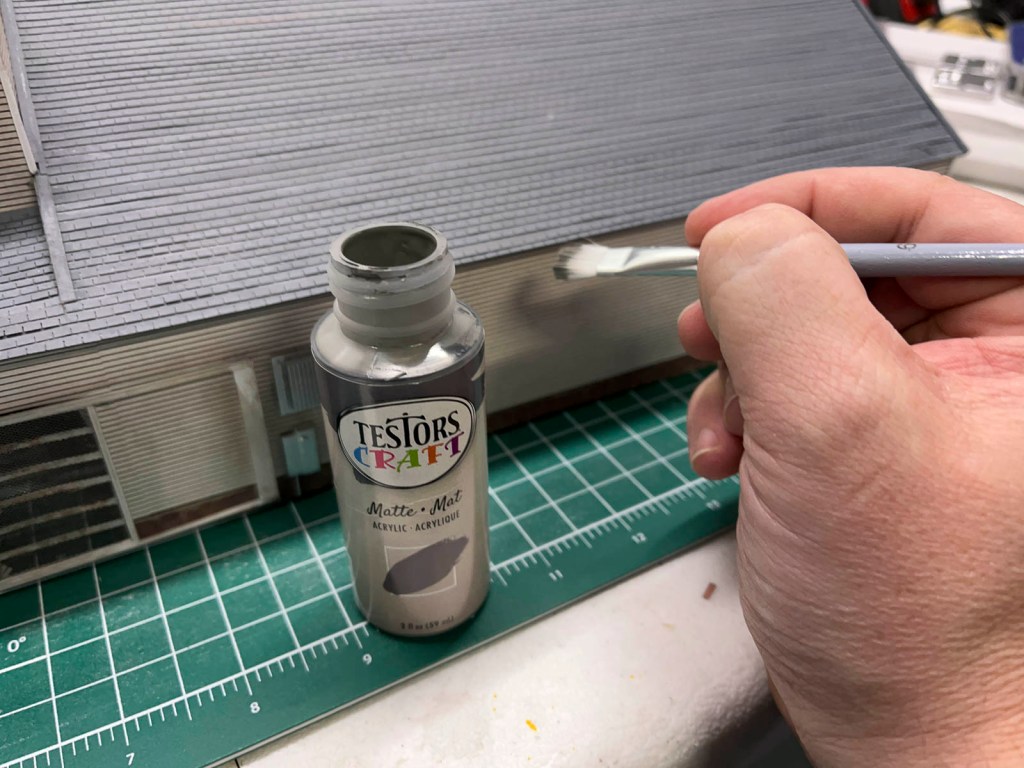
The edges of all the roofs were trimmed with styrene angle pieces and painted where appropriate based on prototype placement. As a last step I touched up any missed or rough spots with some Testors Craft paint.

Up next is the access road and in-track grating, plus a plethora of details to wrap up this portion of the front door to the layout.

Looks excellent, but tricky enough to make you want to get your shingles vaccine?
LikeLiked by 1 person